
As a developer, especially one who loves designing UI/UX, hearing “We need this Reporting Feature built” brings me so much excitement. The first thing that comes to my mind is typically data visualization. There will be cool graphs, and lots of customization of what a user can select, and when it’s complete, users will sing your name in praise.
But then, reality sets in when you find out what the end result really is–an Excel document. You may think, “Well, that’s not really that fun,” but I had a lot of fun designing and building this feature. So, let’s walk through how it went end-to-end and some reporting with Azure functionality I was able to implement!
Requirements Of This Build
As with everything we build, there is always a set of requirements that must be met. In our case, it was a pretty simple set:
- The Report being created targets Work Load for the system.
- The result is an Excel document, which must contain defined columns.
- Users need a way to generate the report.
- Users need a way to save configured properties they used to generate the report so they can quickly re-run it later.
So far, straightforward. But let’s view it from a higher level and see how these Azure features need to fit in.
Architectural Guidelines
From the business perspective, the end result is very simple: “We need this,” but from the development perspective, there are quite a few layers to account for. For this particular project we have the following assumptions/limitations:
- Uses Microsoft Azure.
- Fits into a Microservice Architecture.
- Reports may contain large amounts of data.
- Currently doesn’t leverage a Data Warehouse.
- Minimal increase to the project’s administrative footprint.
- The potential for additional reports down the road.
Given the above, I dug into the Azure toolbox to develop the best approach.
The Approach
So, where to begin? First and foremost, I diagramed out what parts and pieces needed to be involved with the Reporting Feature.
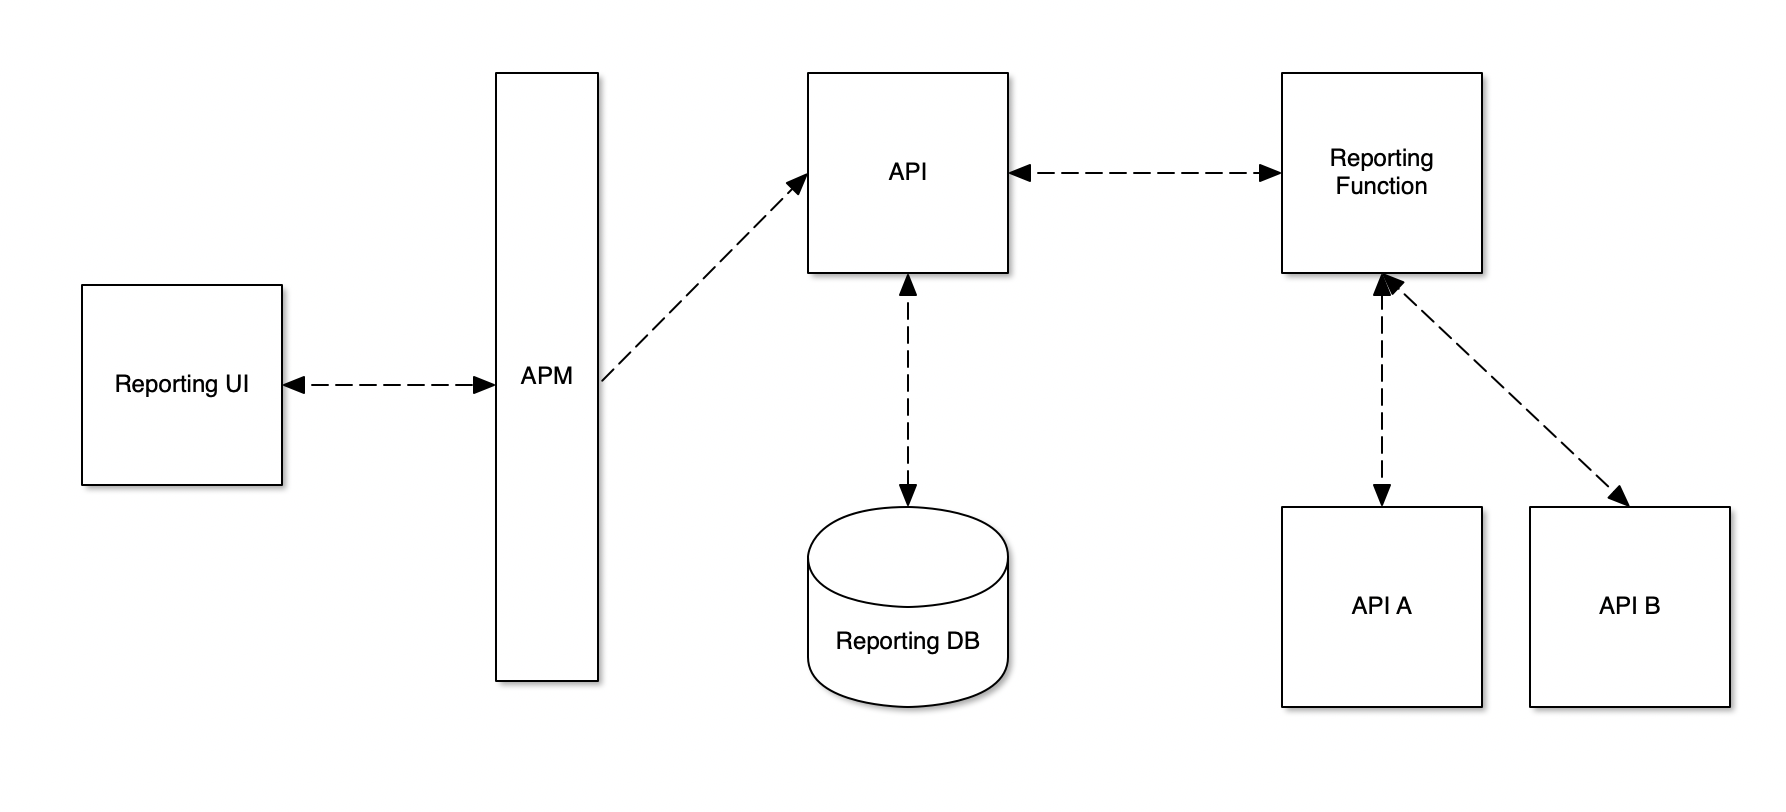
Reporting UI
To get the report kicked off, we needed a set of pages to support the new functionality. In our existing Angular SPA, we would introduce the following views:
- A grid of saved reports with CRUD operations.
- A grid of report jobs to act as an audit table.
- A create/edit report form.
API Management Service
The existing Angular SPA accesses all of its APIs via an Azure Management Service. The Service is a great way to provide access to public-facing APIs while giving you control over requests made to them via policies. Here we can control validating who’s accessing our APIs (typically through JWT), caching, usage quotes and rate limits.
Report/Report Job Controller
With our existing microservice architecture, we already had a good home for these new endpoints. In one of our existing APIs, we added a new Report and Report Job Controller that would be responsible for:
- Standard CRUD operations.
- Generating the report.
The Report Job’s generate report endpoint would ultimately handle sending requests via Flurl to a new Azure Function to generate the Report.
Reporting with Azure Functions
The Azure Function would be the brains of the operation. Accessed via an HttpTrigger, we would POST a configuration model, and the Function would operate asynchronously. From there, the Function would need to communicate with any number of APIs to aggregate data, then generate and email the report.
To be able to email the resulting report, we can take advantage of Twilio’s SendGrid integration Azure Functions and Azure have.
So why did this approach work well for us?
How It Fits In
From diagraming how this feature could be built, you can see quickly how well this approach satisfied the business requirements and would seamlessly fit our current architecture.
- Users had a dedicated area to save and run reports and view the state of those reports.
- Users would not be sitting there waiting for the request to be completed since the Azure Function was running the report generation asynchronously. This also ensured the Azure Function didn’t timeout since it used an HttpTrigger.
- We leveraged an existing API and Database.
- The advantage here is that we didn’t introduce new services that would require extra ARM template management or CI/CD management.
- We leverage an Azure Function to be the reporting brains.
- Can hook our APIs in.
- Can create strategies to generate different reports, allowing flexibility for enhancements in the future.
- Can take advantage of SendGrind integration to email the reports.
- Can create an ARM template to handle creating/updating the Function in a target environment.
With the plan laid out, let’s take a look at how easy it was to integrate SendGrid with the Reporting Azure Function.
SendGrid Integration
We include the SendGrid binding in our Azure Function to begin the integration.
 [FunctionName("CreateSystemReport")]
        public static async Task<IActionResult> Run(
            [HttpTrigger(AuthorizationLevel.Anonymous, "post", Route = null)] HttpRequest req,
            [SendGrid] IAsyncCollector<SendGridMessage> messageCollector,
            ILogger log, ExecutionContext executionContext)
        {
            log.LogInformation("Request for Report generation received.");

            string requestBody = await new StreamReader(req.Body).ReadToEndAsync();
            log.LogDebug($"Event Message: {requestBody}");

            var context = new ReportProcessorContext(requestBody, messageCollector, log);
            context.ProcessRequest();

            return new NoContentResult();

        }
The SendGrid binding does need one piece of information to connect properly, and that’s its API key. One way to do that is by specifying the ApiKey name as a property in the binding.
[SendGrid(ApiKey = "CustomSendGridKeyAppSettingName")] IAsyncCollector<SendGridMessage> messageCollector
Alternatively, you can omit the ApiKey, which will default to looking in your settings file for a property named AzureWebJobsSendGridApiKey.
So, where do you get this key?
Setting up SendGrid in Azure
To acquire your API key for SendGrid, you must first create a SendGrid user account in Azure. This is a very straightforward process and is effectively a sign-up form.
When you’ve completed creating the account, you’ll see that there’s now a new service with a type of SendGrid Account.

Clicking on it will take you to the service overview page in Azure where you can click the Manage button to access the SendGrid portal.
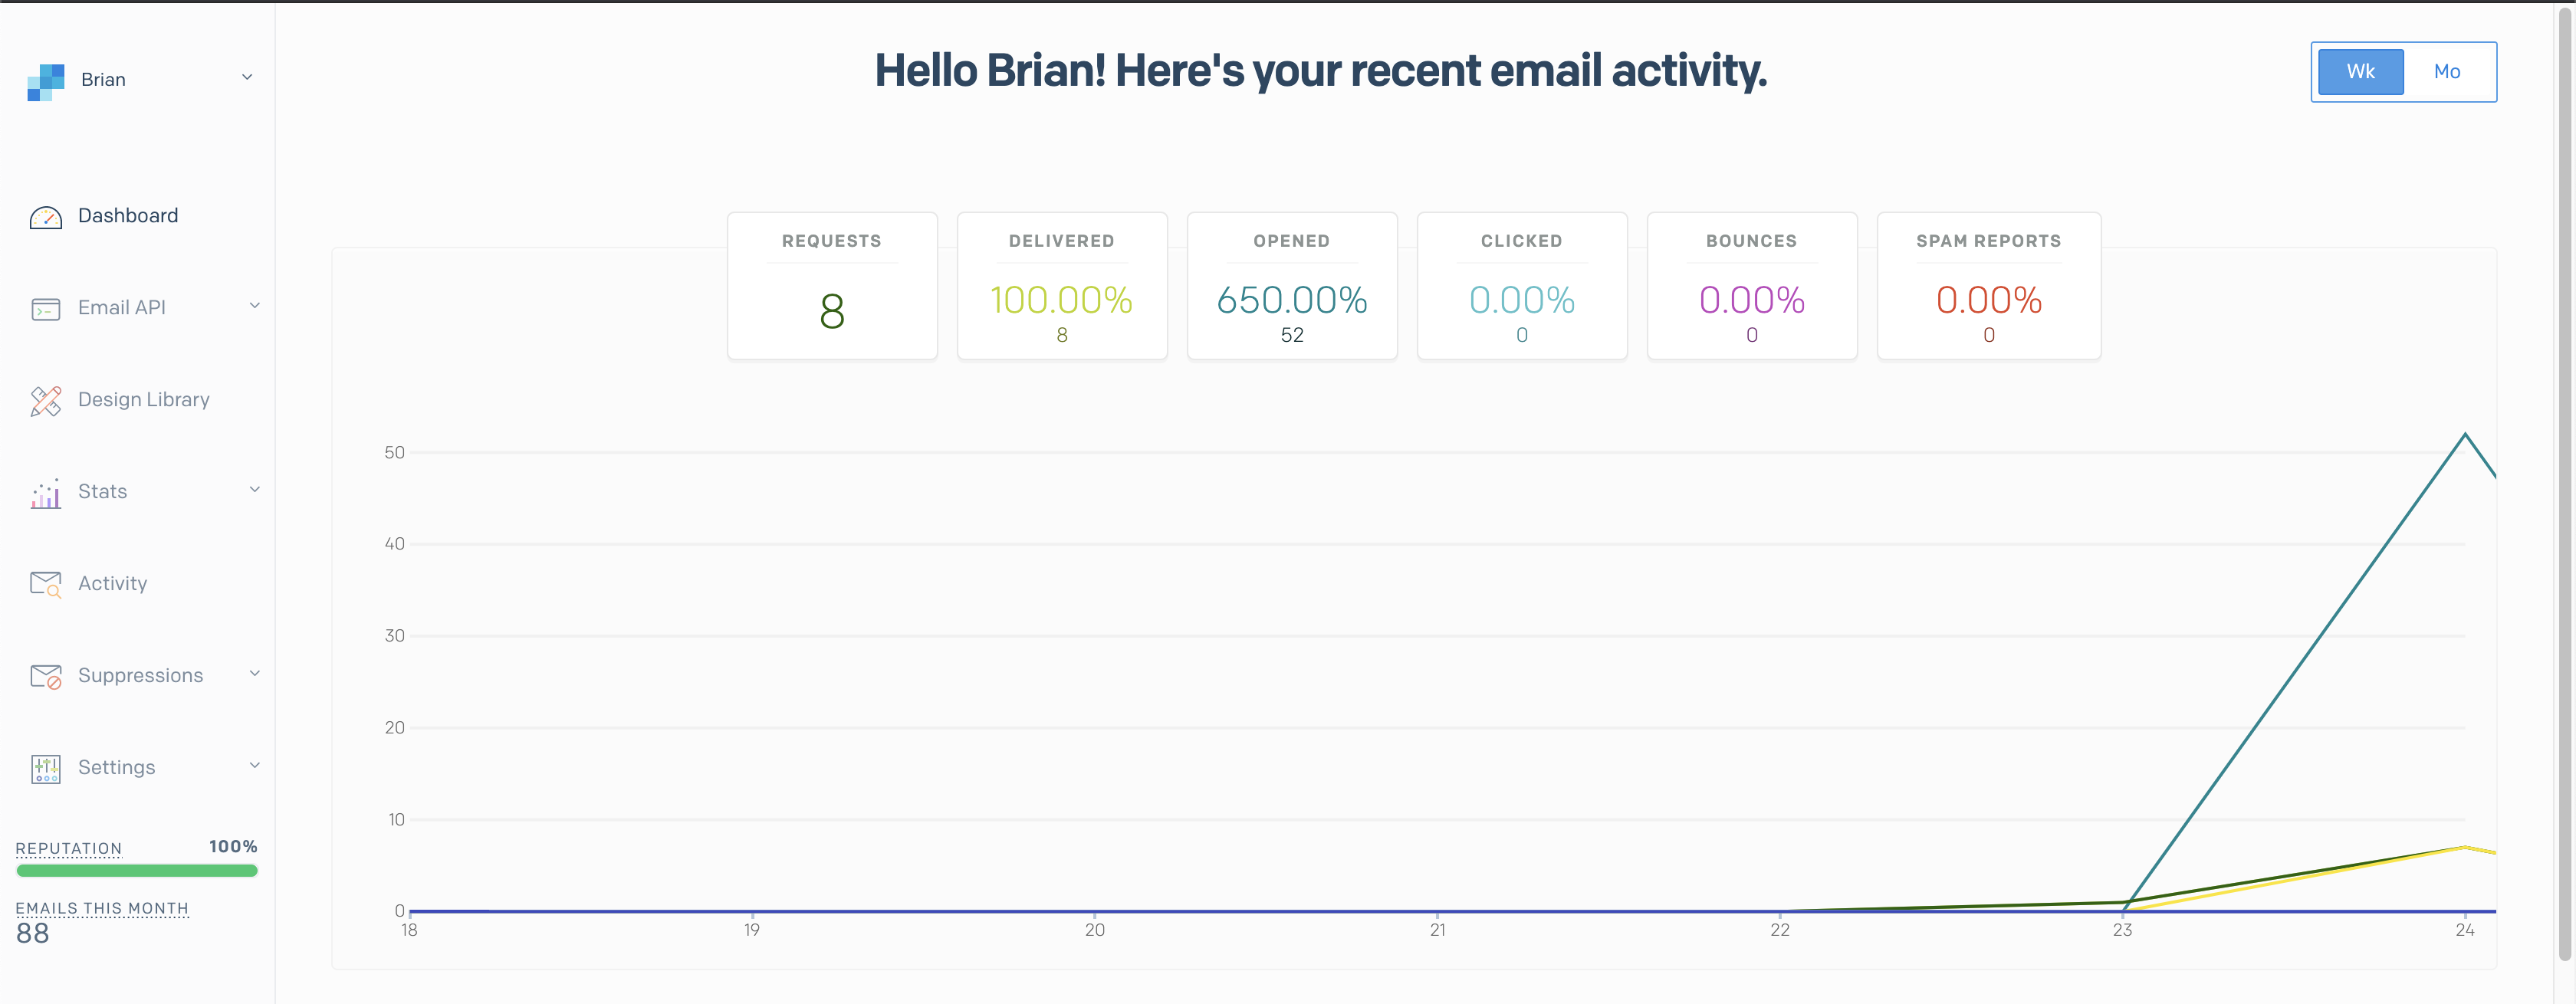
SendGrid will walk you through creating an API key and testing it, but in case that isn’t the experience you’re presented with, you can create the keys yourself. Under Settings in the navigation menu, you’ll see an API Keys item.
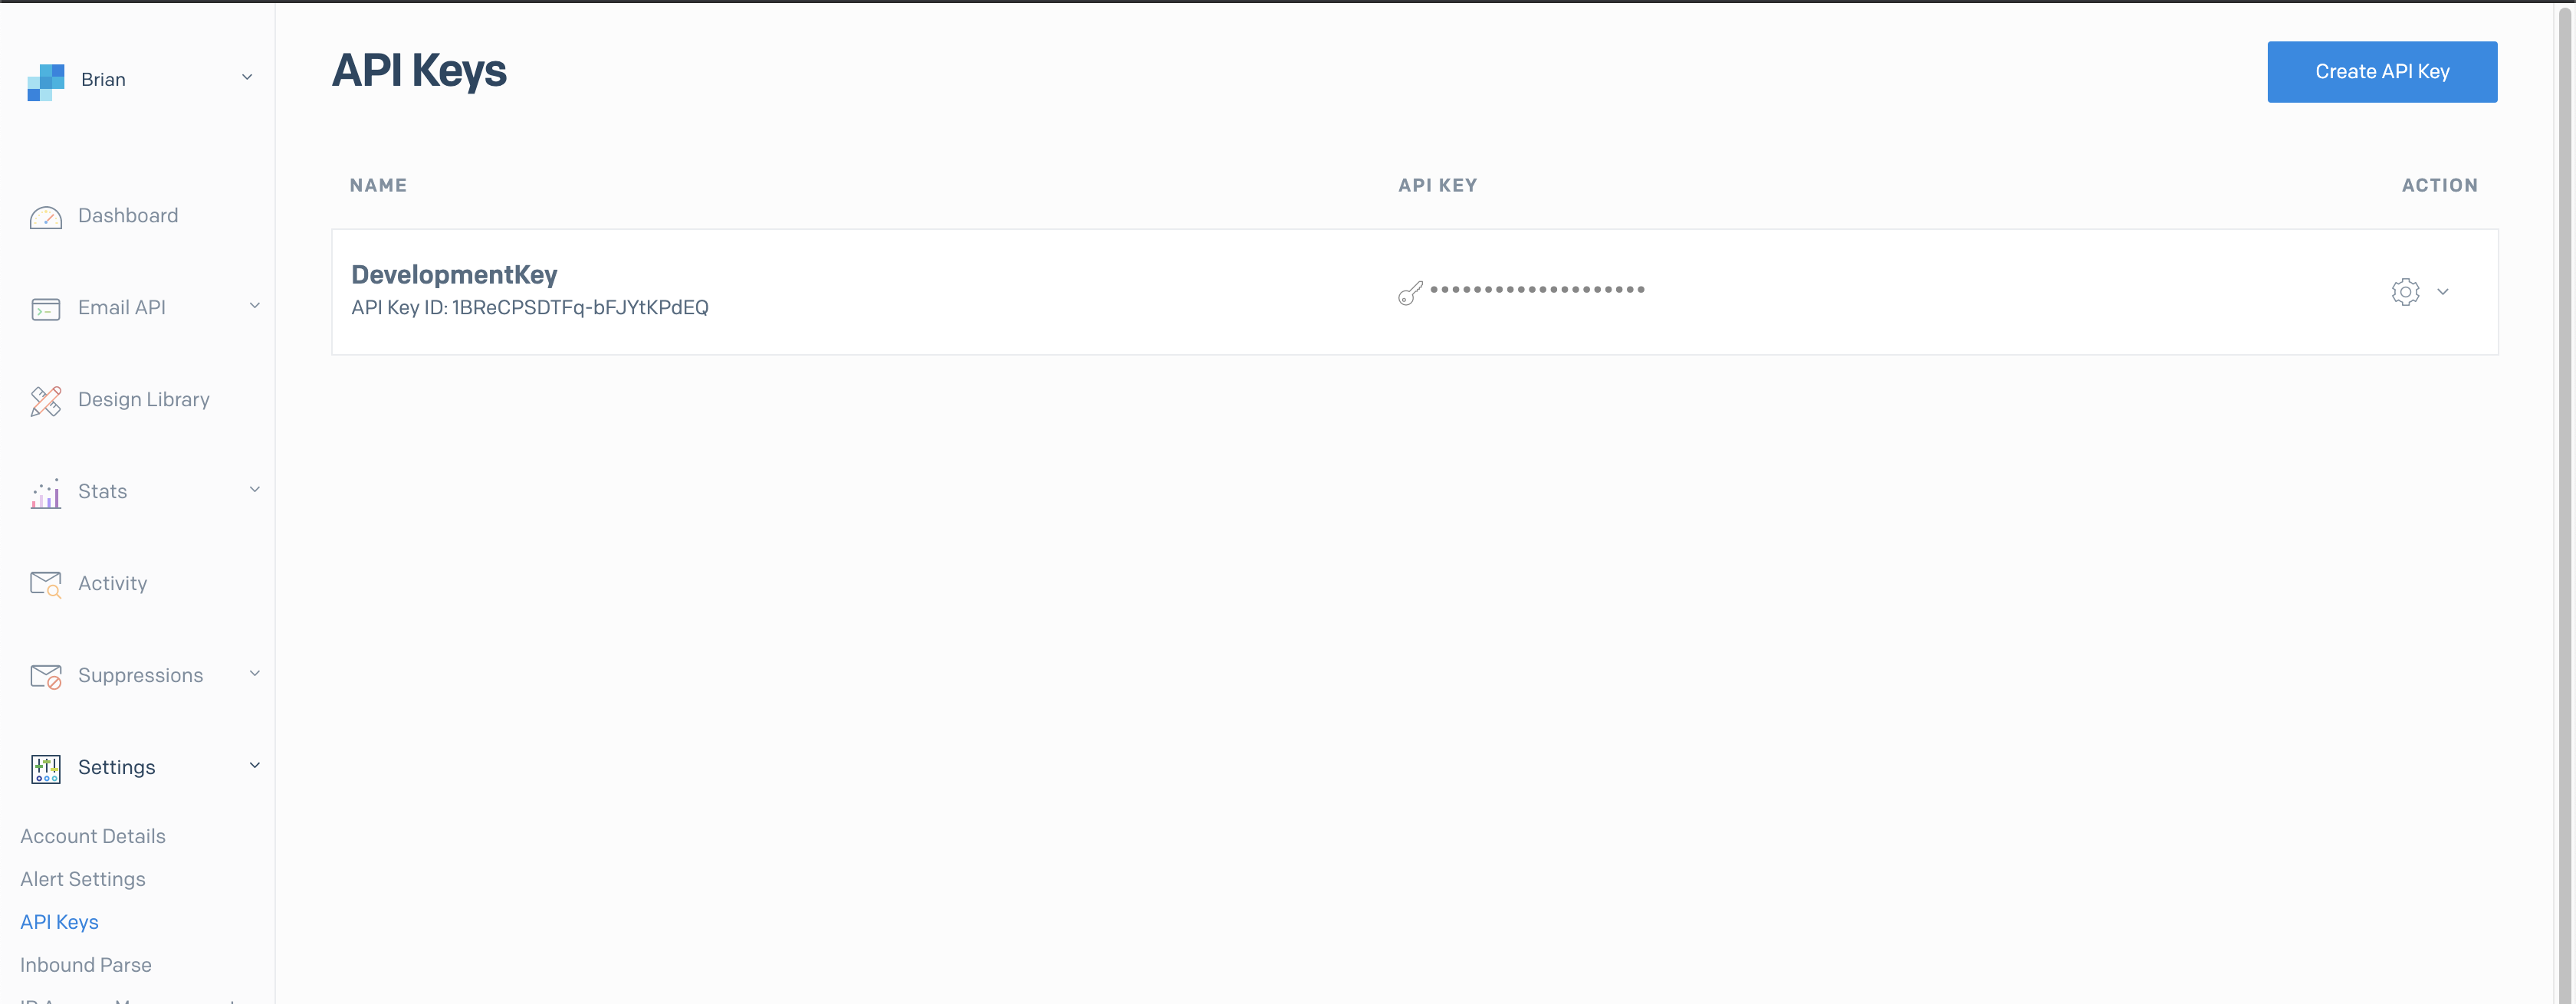
This will list any keys you’ve created so far. For me, I’ve already created a key so you see my existing development one listed. If you click the Create API Key button in the top right, you’ll be presented with a very simple form.
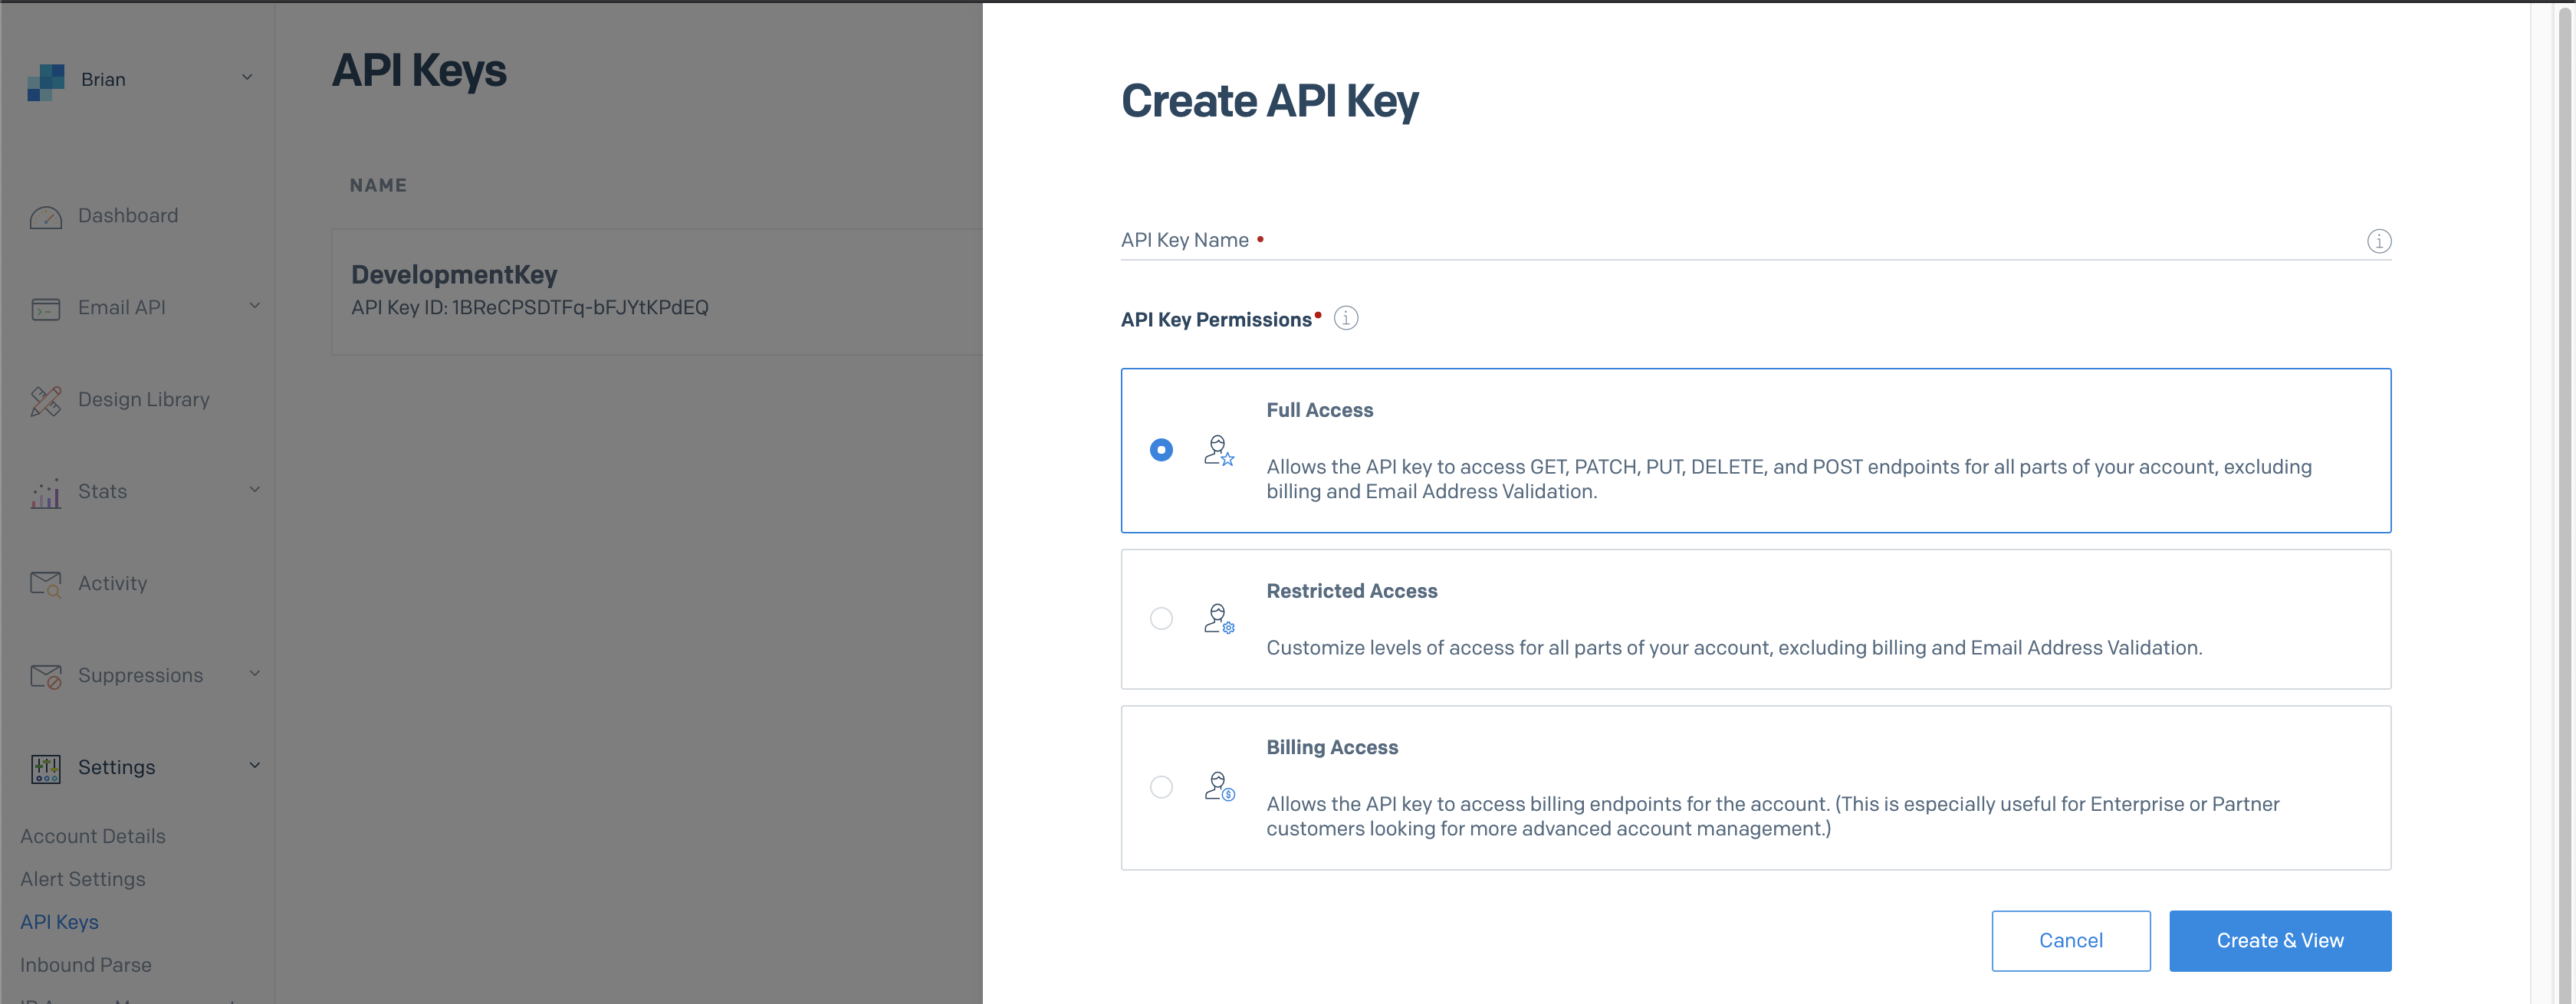
After you fill out the form, you’ll be presented with your API Key. This is the key you can use to integrate your Azure Function with SendGrid.
Sending Emails with Attachments
Now that we have an API Key and we’ve connected SendGrid to our Azure Function, we can send emails. In our case, we want to send an email with an attachment, so let’s see how we did just that.
If you remember from our example above, our binding brought into the Function the IAsyncCollector<SendGridMessage> messageCollector.
[SendGrid] IAsyncCollector<SendGridMessage> messageCollector
To be able to send an actual email, we just need to create a SendGridMessage object, pass it to your messageCollector and off it goes.
//Create message
var message = new SendGridMessage();
message.AddTo(_request.Recipient);
message.AddContent("text/html", "The Work Load report is attached.");
message.SetFrom(new EmailAddress("notreal@fake.email");
message.SetSubject(baseName);

//Send the message
messageCollector.AddAsync(message);
Super easy. So, how do we add an attachment to the message? Ultimately, we need to send the report along with the email. To do that, we create an appropriately named Attachment object that is handed to the message.
//Create the Workbook of the Report
....

//Save it to a stream
MemoryStream ms = new MemoryStream();
workBook.SaveAs(ms);

//Create the attachment
var reportAttachment = new Attachment()
{
   Content = Convert.ToBase64String(ms.ToArray()),
   Type = "application/vnd.openxmlformats-officedocument.spreadsheetml.sheet",
   Filename = "Report.xlsx",
   Disposition = "inline",
   ContentId = "Report"
};

//Create message
var message = new SendGridMessage();
message.AddTo(_request.Recipient);
message.AddContent("text/html", "The Work Load report is attached.");
message.SetFrom(new EmailAddress("notreal@fake.email");
message.SetSubject(baseName);

//Add the attachment to the message
message.AddAttachments(new List<Attachment>() { reportAttachment });

//Send the message
messageCollector.AddAsync(message);
Once again, super simple.
Conclusion
It was amazing to me how simple the integration between Azure Functions and SendGrid turned out to be. The integration’s simplicity allowed me to focus on more important things related to business needs vs. an extensive implementation. Not to mention, SendGrid is free for up to 25,000 emails and scales for cheap beyond that.
I’m a happy developer with how this turned out, given the requirements and limitations. As always, I’d love to hear about your experiences with Azure Functions, SendGrid, or just technology in general.
About Rōnin Consulting – Rōnin Consulting provides software engineering and systems integration services for healthcare, financial services, distribution, technology, and other business lines. Services include custom software development and architecture, cloud and hybrid implementations, business analysis, data analysis, and project management for a range of clients from the Fortune 500 to rapidly evolving startups. For more information, please contact us today.
Recent Posts
-
 Why Domain Knowledge Is Critical for AI-Driven Development
 -
 Once a Rōnin, Always a Rōnin. A Conversation with Software Developer Austin O’Byrne
 -
 What an AI-First Feature Build Looks Like From the Inside
 -
 AI and Compliance: Why Regulated Industries Are Falling Behind
 -
 Al Fresco Coding: Building a March Madness App with AI